Palettes: DMC, Anchor, Generic yarn · 20–400 stitches wide · up to 120 colours
Free needlepoint patterns to start with
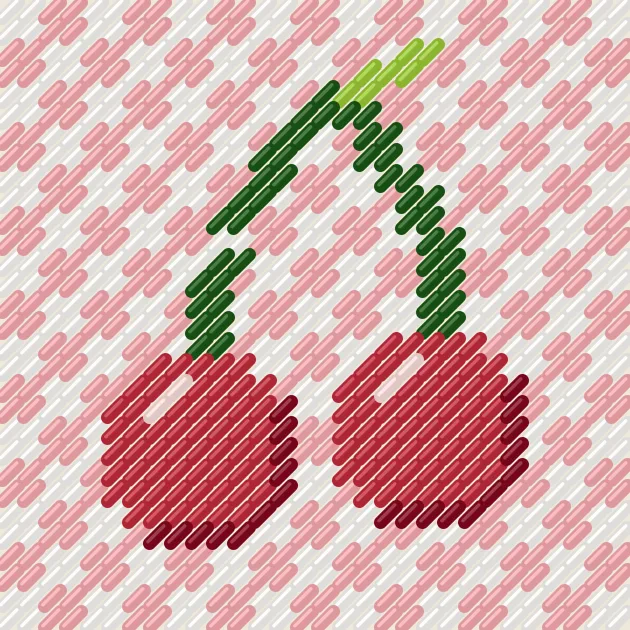
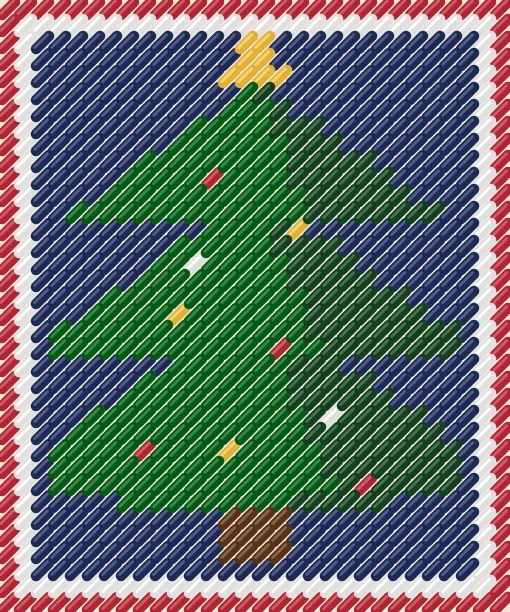
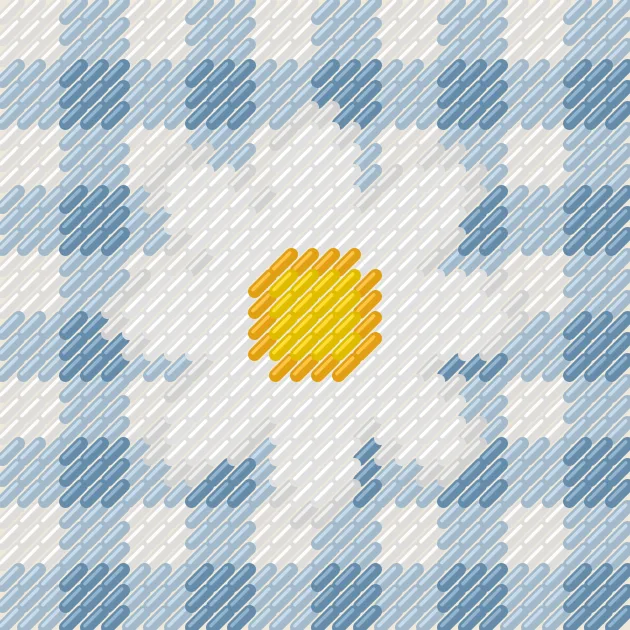
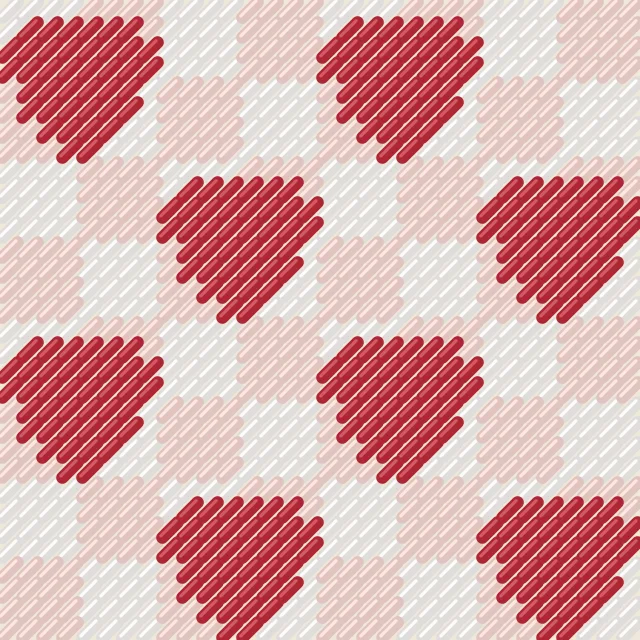
What needlepoint is, and who these tools are for
Needlepoint, sometimes called canvas work or tapestry, is stitched on a stiff open-weave canvas. Every square of the chart becomes one small slanted stitch, the tent stitch, laid over an intersection of canvas threads. Unlike cross stitch, the whole canvas is covered, background included, so the finished piece is thick, firm and durable. That makes it ideal for things that get handled: cushions, glasses cases, belts, key fobs, bag panels, stool tops and Christmas ornaments.
Most people start with a printed kit, but many want to stitch something of their own: a dog, a house, a monogram, a favourite painting. These tools turn your photo or lettering into a counted chart with real thread numbers, a finished size for your canvas and the amount of thread to buy, all in your browser. Nothing is uploaded.
Choosing mesh, size and colours
Mesh decides both size and detail. Mesh counts holes per inch, so the same 100-stitch design is 10 inches across on 10-mesh and about 5.6 inches on 18-mesh. Coarser canvas is faster and pairs with tapestry wool; finer canvas holds detail and pairs with stranded or pearl cotton. Choose the canvas you will actually buy first, then set the width in stitches to fit your cushion, belt or frame.
Width. For a recognisable portrait aim for 120 stitches or more across the subject. For a monogram or a bold graphic, 40 to 80 stitches is plenty. Widths from 20 to 400 stitches are supported.
Colours. Needlepoint backgrounds are often a single colour, so you can afford more shades in the subject. Twenty to thirty colours suit most photos; graphic designs may need only six or eight. Every colour comes with a DMC® or Anchor number, or a generic wool shade if you prefer to buy wool locally and match by eye.
How the tools fit together
The photo to needlepoint tool converts any picture into a chart, with confetti cleanup to avoid lots of isolated single stitches, background removal, cropping and brightness controls. A realistic view shows slanted tent stitches on canvas so you can judge the effect before you buy anything.
The needlepoint name chart maker sets initials, names and dates in six pixel fonts with borders, which is how most monogram key fobs, belts and pillows start. The needlepoint editor lets you draw your own design or tidy a converted one, with mirroring for symmetrical motifs.
Every pattern downloads as a PDF with a cover page, a colour key with thread amounts, numbered chart pages with a bold line every ten stitches and centre arrows, and the editable project embedded inside. The stitch tracker lets you mark off stitches on a phone or tablet as you go.
Common mistakes
- Choosing mesh after charting. The finished size depends entirely on the mesh, so pick the canvas first.
- Too many near-identical shades. On canvas, two similar browns look like one. Merge colours that differ only slightly.
- Forgetting the background. It is often the largest single colour; check its amount in the key before you order.
- Mixing stitch directions. All tent stitches should slant the same way, or the surface looks uneven.
- Skipping the margin. Leave at least two inches of bare canvas on every side for mounting and blocking.
Getting started
- Decide what you are making and choose your canvas mesh.
- Open the photo tool or the name maker and set the width to fit your project.
- Start with about 20 colours, then compare the Chart and Realistic views.
- Tidy stray stitches and outlines in the editor.
- Download the PDF, buy thread using the colour key, and stitch the motif before the background.
Needlepoint guides
Frequently asked questions
What is the difference between needlepoint and cross stitch?
Both follow a square chart, but needlepoint covers a stiff open canvas completely, usually with one slanted tent stitch per square, while cross stitch makes an X on soft fabric and often leaves the background bare. Needlepoint is hard-wearing, which is why it is used for cushions, belts, bags and chair seats.
Which canvas mesh should I choose?
Mesh is the number of holes per inch. 10 and 12-mesh are quick to cover and suit bold designs and tapestry wool; 13 and 14-mesh are the most common for cushions and ornaments; 18-mesh gives fine detail for portraits and small pieces such as keyfobs and belts. The tool supports 10, 12, 13, 14 and 18-mesh and recalculates the finished size for each.
Can I use stranded cotton instead of wool?
Yes. The charts use DMC® or Anchor numbers by default, which suits stranded cotton and pearl cotton on finer canvas, and can switch to generic wool shades for chunkier work. Whatever you use, it needs to cover the canvas threads; stitch a small test patch and add strands if the canvas shows through.
How is the thread amount worked out?
Each tent stitch uses the slanted stitch on the front plus the travel on the back, about (√2 + 2) times the size of one canvas square, with a quarter extra for starting and finishing tails. The total for each colour is shown in metres and in 8 m skeins. Basketweave and continental use slightly different amounts, so treat the figure as a planning estimate.
How much canvas should I buy?
Add at least two inches (5 cm) on every side of the design for mounting, stretching and blocking. The tool shows the design size and the canvas size with those margins for each mesh.
Can I open needlepoint charts in other software?
Yes. Needlepoint patterns export to OXS, an open chart format that many cross stitch and needlepoint programs can import, as well as PDF, PNG, SVG, a CSV shopping list and our own .cpat project files.
Last updated · About us